ubuntu 配置Cloudfoundry

本文最后更新于:2022年4月4日 晚上

没错,又到了每周一度痛苦的配环境环节,更痛苦的是配完的环境可能再也不会打开。

image-20220404235500586

官方文档

1 安装

  • 添加仓库

    1
    2
    wget -q -O - https://packages.cloudfoundry.org/debian/cli.cloudfoundry.org.key | sudo apt-key add -
    echo "deb https://packages.cloudfoundry.org/debian stable main" | sudo tee /etc/apt/sources.list.d/cloudfoundry-cli.list
    image-20220404171709580
  • 更新系统

    1
    sudo apt-get update
  • 安装cli-v8版本

    1
    sudo apt-get install cf8-cli
    image-20220404172248144
  • 测试安装

    image-20220404213210295
  • 设置语言

    image-20220404213645622

2 设置环境并登录

  • 注册 Cloudfoundry试用账户

    链接

image-20220404220724578
  • 设置API
image-20220404221356694
  • 登录

因为某种原因登陆失败

image-20220404221443087

使用短期验证码登录

image-20220404222010633

3 测试命令

  • 列出组织名称
image-20220404222807113
  • 重命名
image-20220404222929544
  • 查看信息
image-20220404223008663
  • 显示用户
image-20220404223144864

4 部署Python 版的hello world

4.1 安装docker

1
curl -sSL https://get.daocloud.io/docker | sh
image-20220404224134678

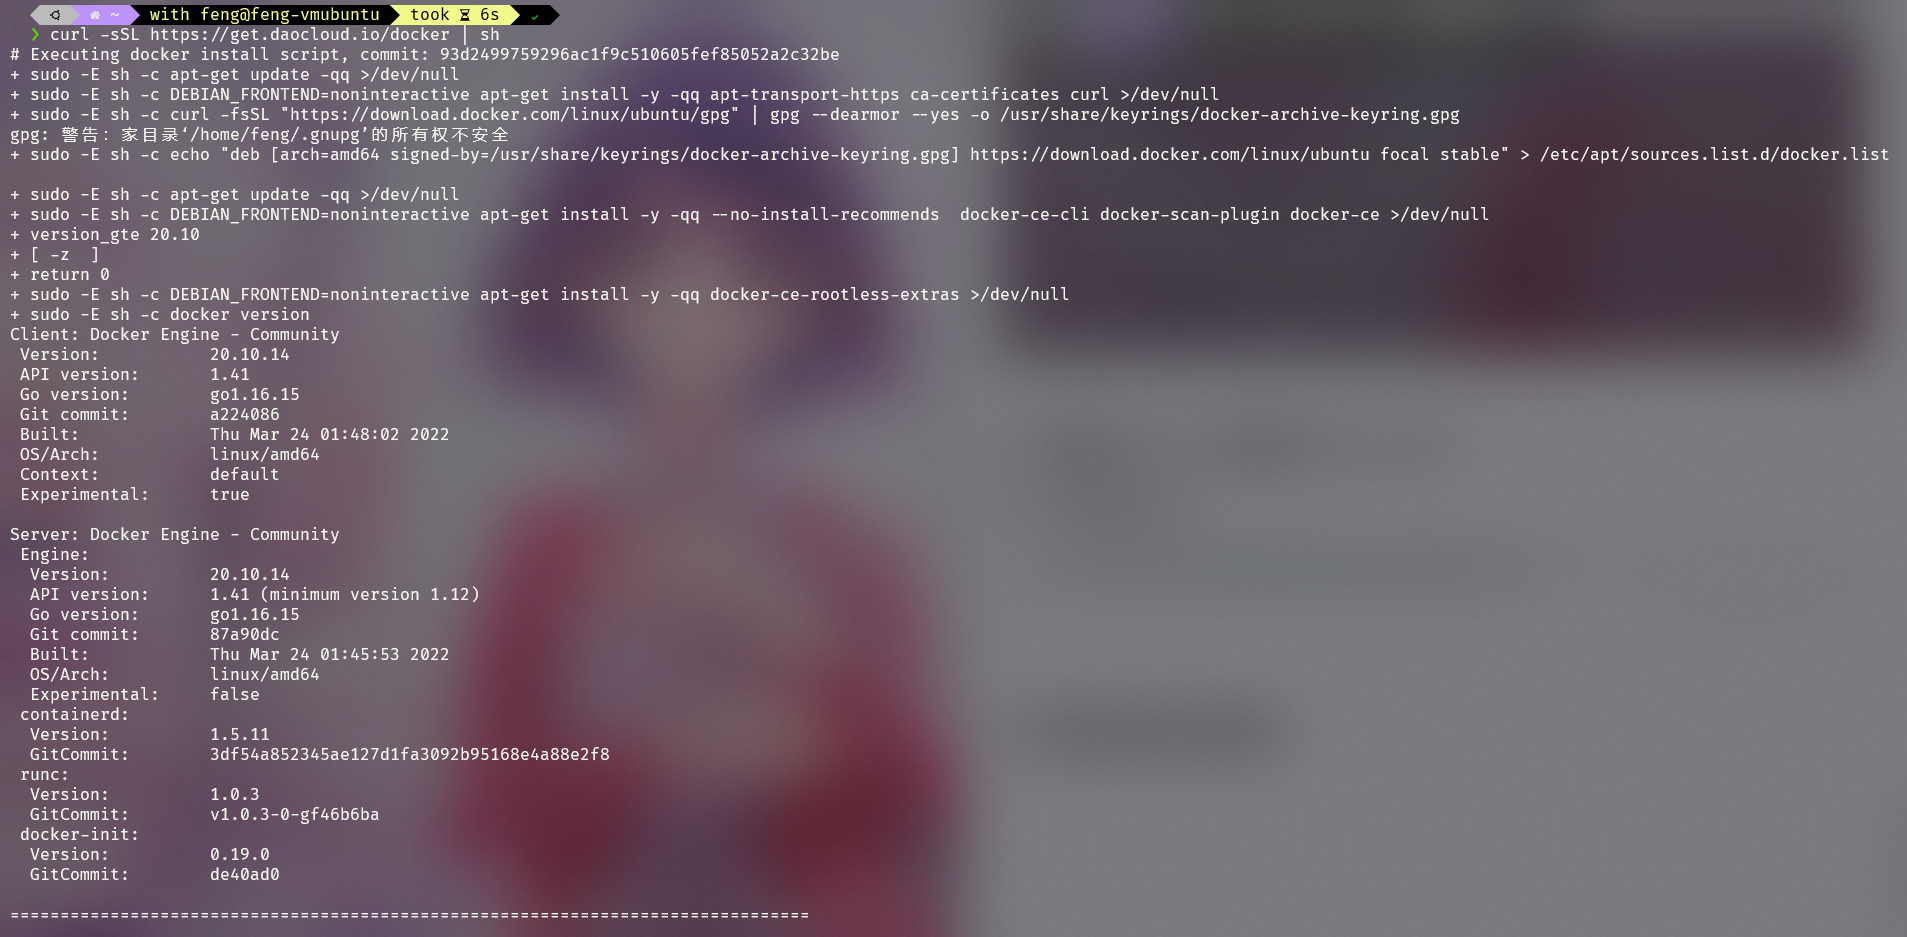
docker可能并不是必备的,只是安装文档中说需要装,就装了😆

4.2 使用Cloud Foundry CLI 安装 Cloud Foundry 本地插件

1
cf install-plugin cflocal
image-20220404224439713

4.3 部署python flask版的hello world

4.3.1 克隆项目

1
git clone https://github.com/YoheiFukuhara/cloudfoundry-python-flask-sample.git
image-20220404224917681

4.3.2 部署

进入文件夹

1
cf push cf-helloworld
image-20220404231803170

更改文件:

  • runtime.txt

    1
    python-3.6.14

删除失败的

1
cf delete py-helloworld
image-20220404232259210

重新push,成功

image-20220404232447652
image-20220404232719291